Modern Docker management for everyone

Dockhand is a self-hosted web UI built to manage your Docker containers efficiently. It is licensed under the Business Source License (BSL 1.1), which means it is completely free for personal use, home labs, non-profits, and education (and will even convert to Apache 2.0 in 2029).
The project was created by Jarek Krochmalski, built on a solid tech stack of SvelteKit, Bun, and a secure Wolfi-based OS layer.
✨ Why I’m Switching (Key Features)
After test-driving Dockhand, it has replaced several other tools (Portainer, Dockge & Dozzle) I previously had running. Here’s why it stands out:
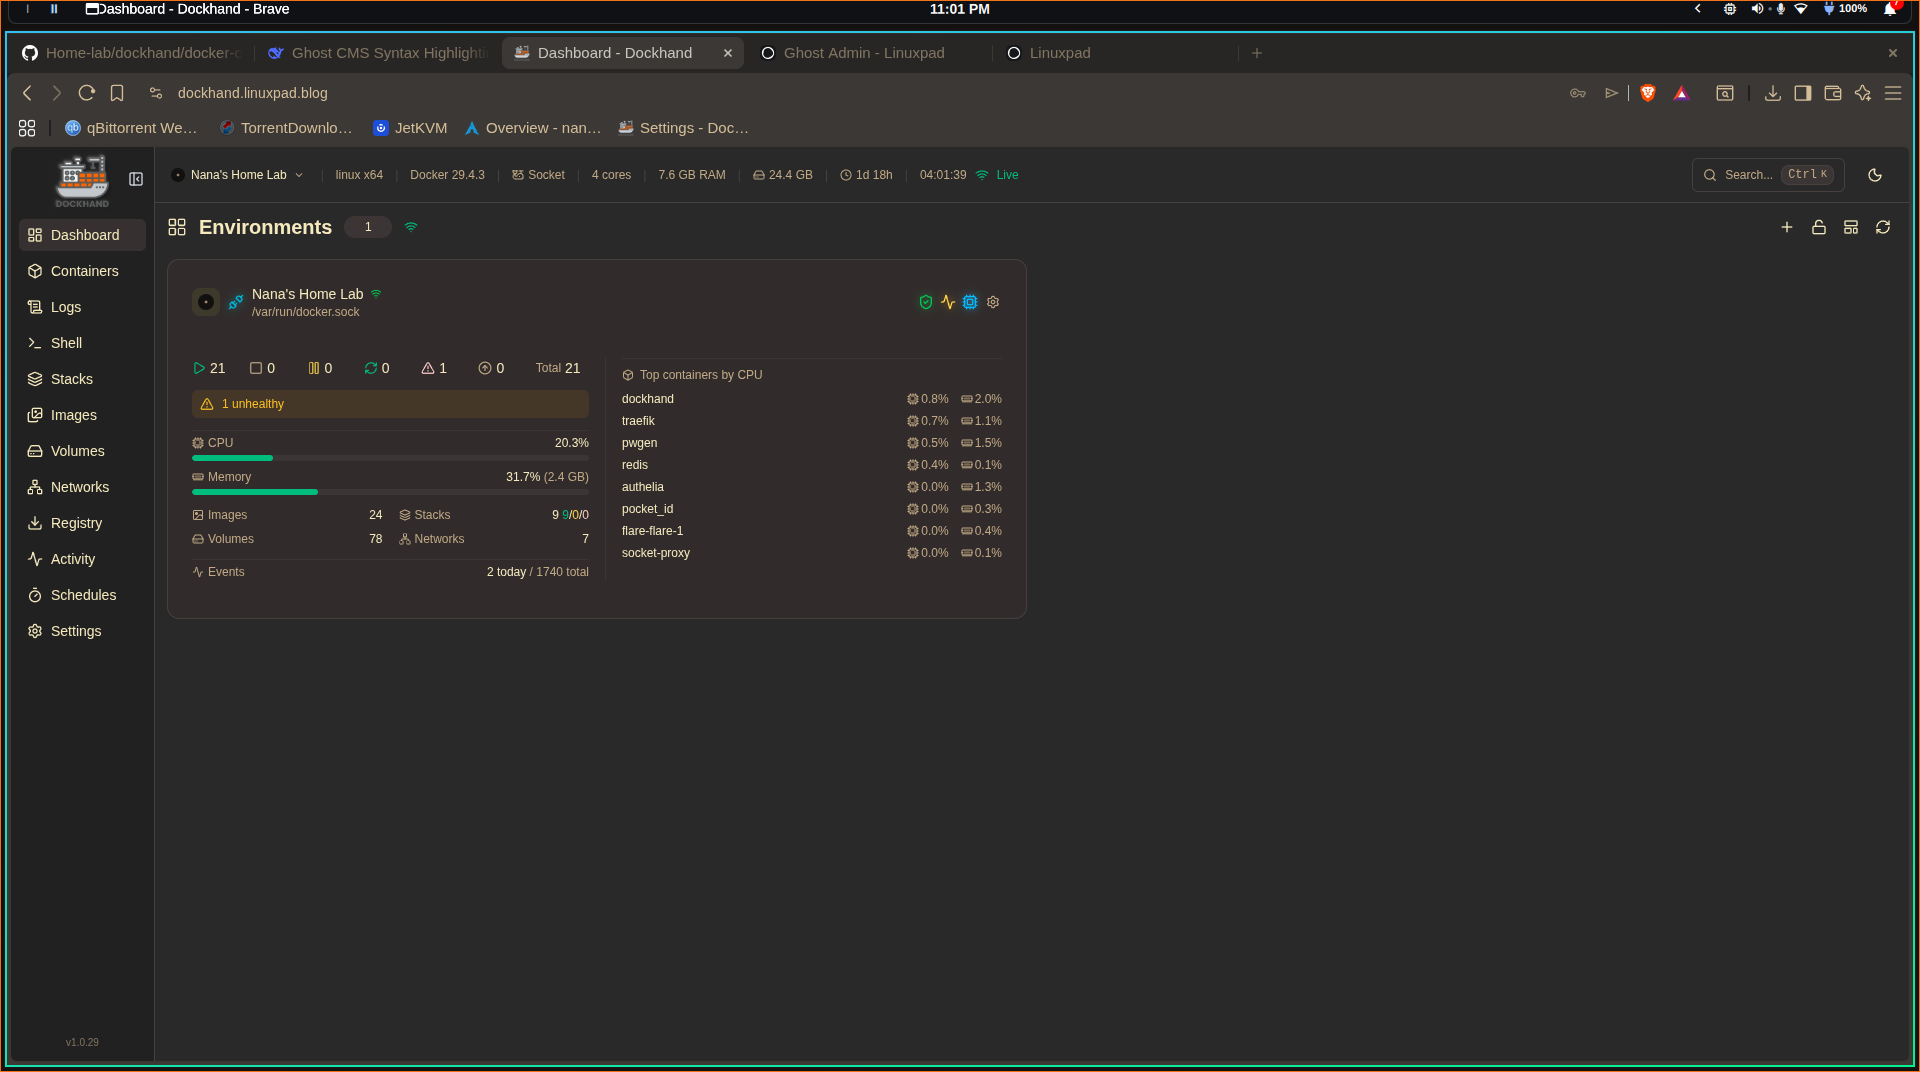
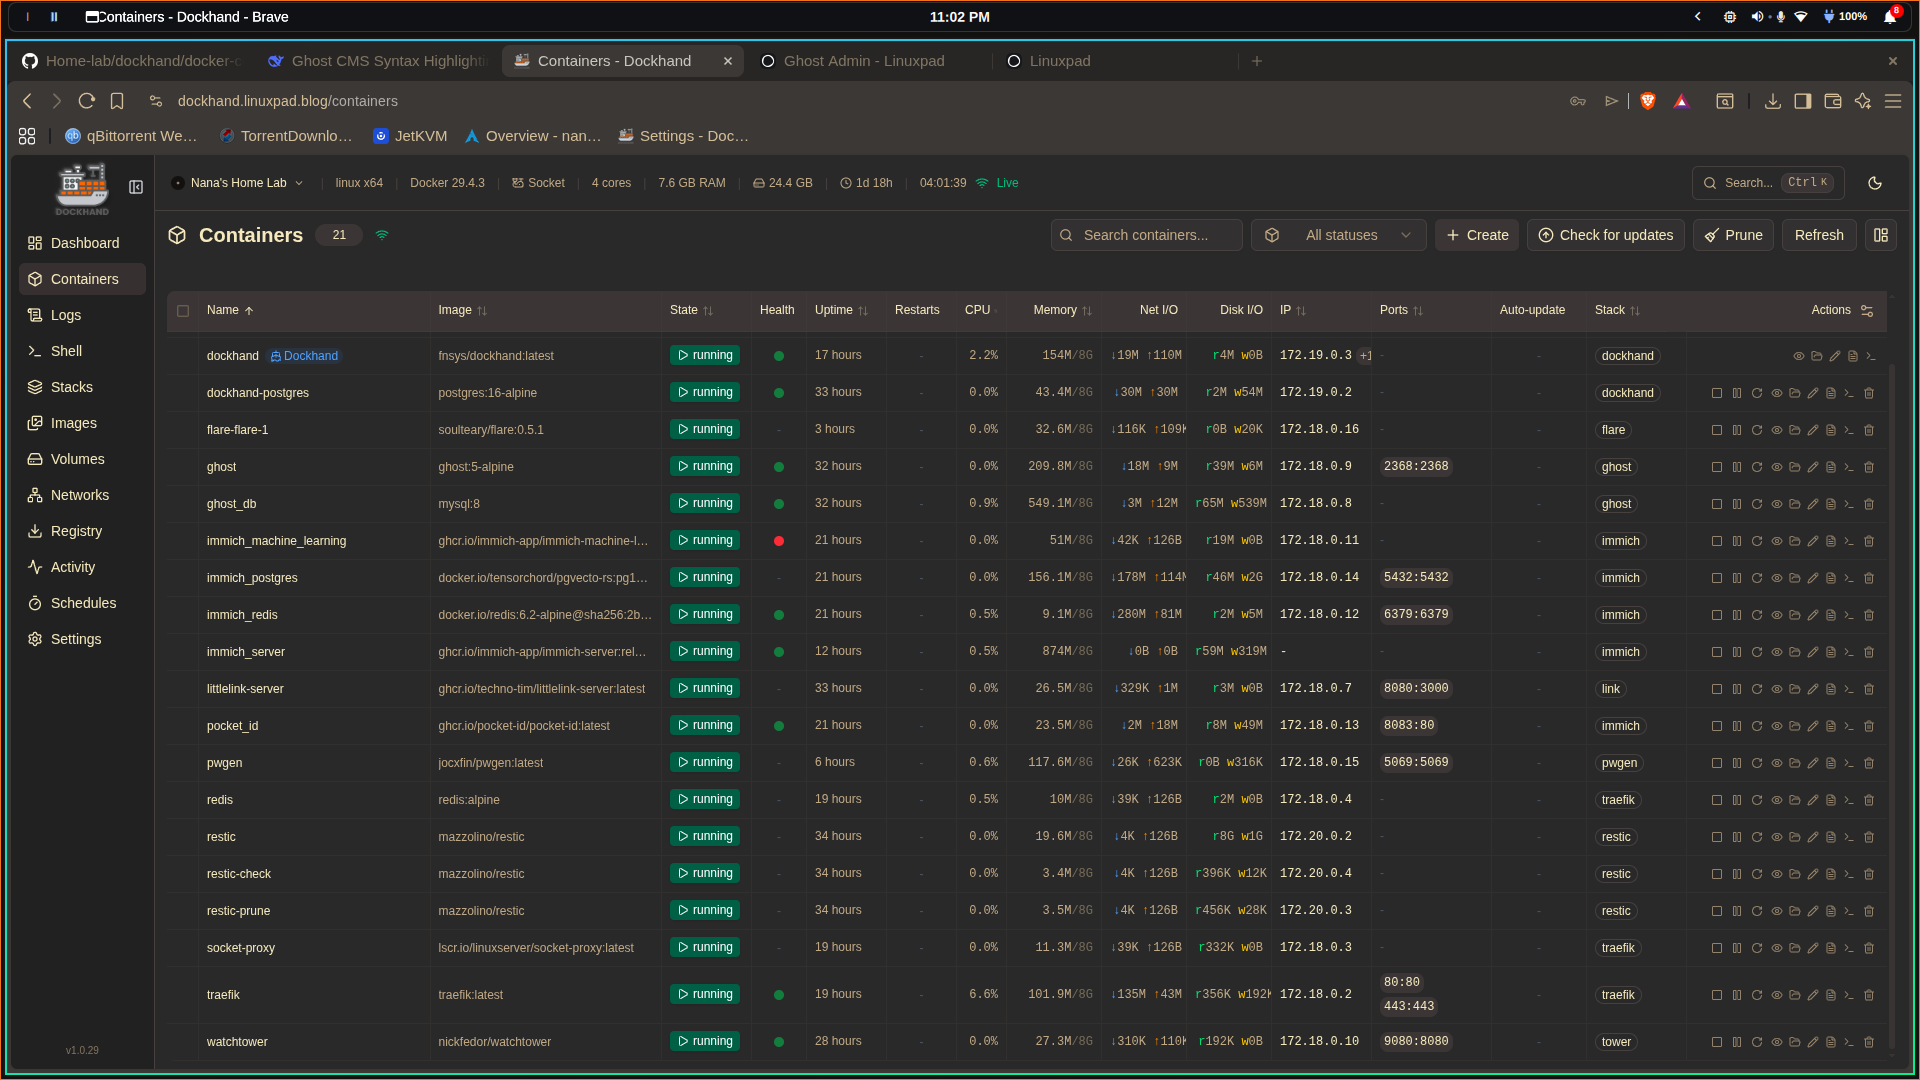
- Intuitive Modern UI: The dashboard is clean, presenting your environments as easy-to-read tiles with key stats like CPU usage and container health.
- Visual Compose Editor: If you dislike writing YAML from scratch, the built-in visual editor for Docker Compose stacks is a huge time-saver.
- Built-in Security & Updates: This is my favorite feature. Dockhand includes native vulnerability scanning (Trivy/Grype) and safe, automatic container updates with rollback protection, eliminating the need for separate tools like Watchtower.
- All-in-One Replacement: Since moving to Dockhand, I’ve noticed it replaces many standalone tools like Portainer, Watchtower, Dozzle, and Apprise.
- Real-time Terminal & Logs: Access container shells and stream colorized logs directly from the browser.
- Notifications: Unlike Portainer's business edition, Dockhand supports free SMTP and Apprise notifications.
Quick Deployment Guide
Deploying Dockhand is incredibly easy. Since we are using a standard VPS or home server, we will use Docker Compose. However, this utilizes the use of PostgreSQL as against the default SQLite. So this makes the setup a bit lengthy as we get on.
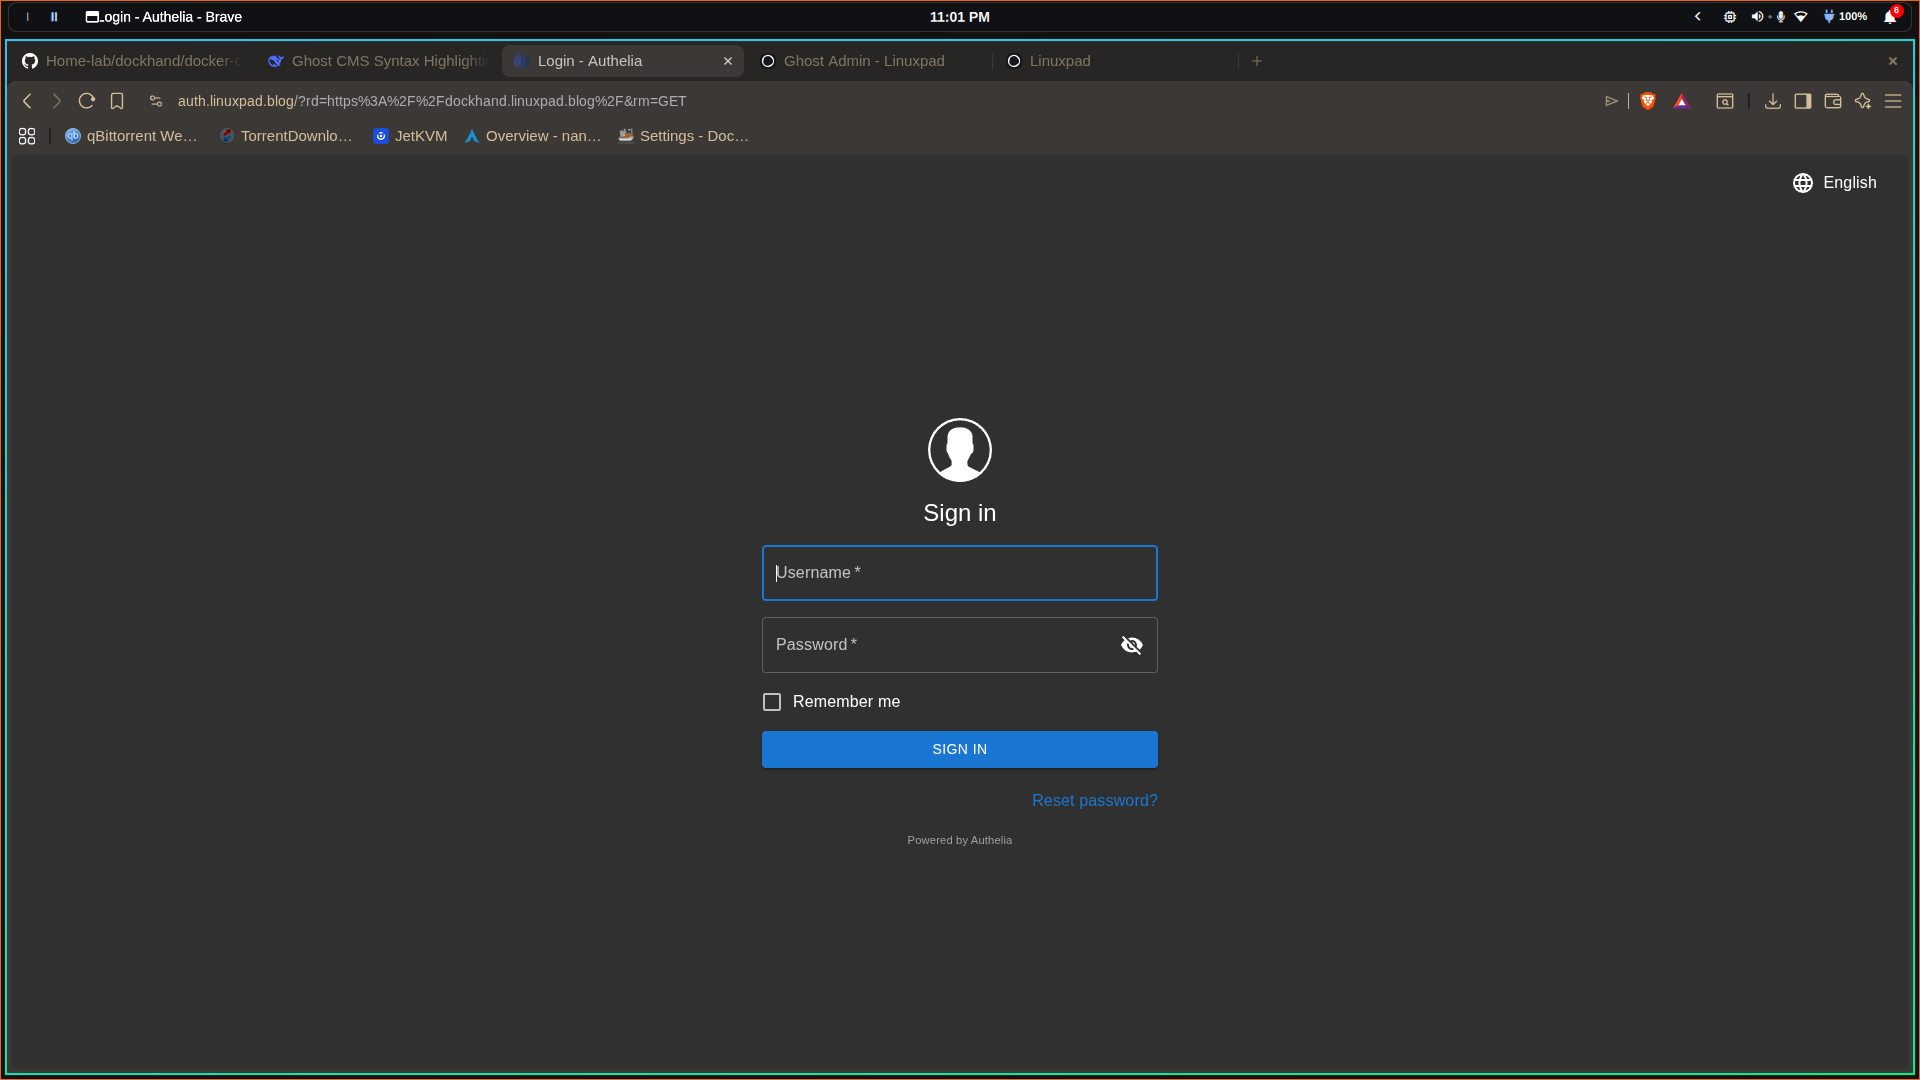
Also, I use traefik and authelia as backend servers for reverse proxy and authentication.
1. Create the Docker Compose file
Create a new directory for Dockhand and navigate into it:
mkdir dockhand && cd dockhandLike I stated earlier, if you prefer the default configuration from dockhand, just copy this code snippet into your yaml file and start the service up:
services:
  dockhand:
    image: fnsys/dockhand:latest
    container_name: dockhand
    restart: unless-stopped
    ports:
      - 3000:3000
    volumes:
      - /var/run/docker.sock:/var/run/docker.sock
      - dockhand_data:/app/data

volumes:
  dockhand_data:
PostgreSQL + Traefik + Authelia Setup:
Create your compose.yaml file and paste this code snippet:
version: "3.9"

services:
  postgres:
    image: postgres:16-alpine
    container_name: dockhand-postgres
    restart: unless-stopped
    environment:
      POSTGRES_USER: ${DB_USER}
      POSTGRES_PASSWORD: ${DB_PASSWORD}
      POSTGRES_DB: ${DB_NAME}
    volumes:
      - postgres_data:/var/lib/postgresql/data
      - ./init.sql:/docker-entrypoint-initdb.d/init.sql:ro   # Grant CREATE permission
    networks:
      - internal
    healthcheck:
      test: ["CMD-SHELL", "pg_isready -U ${DB_USER} -d ${DB_NAME}"]
      interval: 10s
      timeout: 5s
      retries: 5
    logging:
      driver: "json-file"
      options:
        max-size: "1m"

  dockhand:
    image: fnsys/dockhand:latest
    container_name: dockhand
    restart: unless-stopped
    environment:
      # Database
      DATABASE_URL: postgres://${DB_USER}:${DB_PASSWORD}@postgres:5432/${DB_NAME}
      # Use socket-proxy instead of direct Docker socket (much safer)
      #DOCKER_HOST: tcp://socket-proxy:2375
    volumes:
      - dockhand_data:/app/data
      - /var/run/docker.sock:/var/run/docker.sock:ro ## REPLACE WITH SOCKET-PROXY for access and security

    networks:
      - internal
      - traefik
    depends_on:
      postgres:
        condition: service_healthy
    labels:
      - "traefik.enable=true"
      - "traefik.docker.network=traefik"

      # HTTP → HTTPS redirect (use @file)
      - "traefik.http.routers.dockhand-http.entrypoints=http"
      - "traefik.http.routers.dockhand-http.middlewares=redir-https@file"
      - "traefik.http.routers.dockhand-http.rule=Host(`${DOCKHAND_DOMAIN}`)"
      - "traefik.http.routers.dockhand-http.service=noop@internal"

      # HTTPS router with Authelia and GZIP (use @file for gzip)
      - "traefik.http.routers.dockhand-https.entrypoints=https"
      - "traefik.http.routers.dockhand-https.tls=true"
      - "traefik.http.routers.dockhand-https.tls.certresolver=le"
      - "traefik.http.routers.dockhand-https.rule=Host(`${DOCKHAND_DOMAIN}`)"
      - "traefik.http.routers.dockhand-https.middlewares=gzip@file,authelia@docker"
      - "traefik.http.routers.dockhand-https.service=dockhand-backend"

      # Service definition (port 3000 inside container)
      - "traefik.http.services.dockhand-backend.loadbalancer.server.scheme=http"
      - "traefik.http.services.dockhand-backend.loadbalancer.server.port=3000"

    logging:
      driver: "json-file"
      options:
        max-size: "1m"

volumes:
  postgres_data:
    name: dockhand_postgres_data
  dockhand_data:
    name: dockhand_app_data

networks:
  internal:
    driver: bridge
    name: dockhand_internal
  traefik:
    external: true
    name: traefik
Next is to paste this into your generated .env file as:
# Database
DB_USER=dockhand
DB_PASSWORD=YourStrong!Passw0rd
DB_NAME=dockhand

# Domain for Dockhand (change to your actual domain)
DOCKHAND_DOMAIN=dockhand.linuxpad.blog
Finally, we need to grant permission on the database to the user for drizzle to create it's internal schema. Create an init.sql file and copy this code:
-- Grant CREATE permission on the database to the user
-- This allows Drizzle to create its internal schema
GRANT CREATE ON DATABASE dockhand TO dockhand;
Start the container service up and manually grant permission to the existing database as:
docker compose up -d

docker exec dockhand-postgres psql -U dockhand -d dockhand -c "GRANT CREATE ON DATABASE dockhand TO dockhand;"
Now, stop the service and restart it!
docker compose down && docker compose up -dThat's it! This guide does not cover connection to remote host with hawser. It's simple to do by following the guide.
Check out this setup before you proceed with the above guide.