Streamlining Your Workflow: Why Dockhand Might Be Your New Favorite Docker Tool

If you work with Docker daily, you know the drill. You start with one or two containers. Then, before you know it, you’re managing a dozen microservices, trying to remember arbitrary container names, digging through endless docker ps outputs, and squinting at cluttered logs in your terminal.
While the Docker CLI is incredibly powerful, managing a sprawling local environment through text commands can feel like high-maintenance chores.
Enter Dockhand—a tool designed to take the friction out of Docker container management.
What is Dockhand?
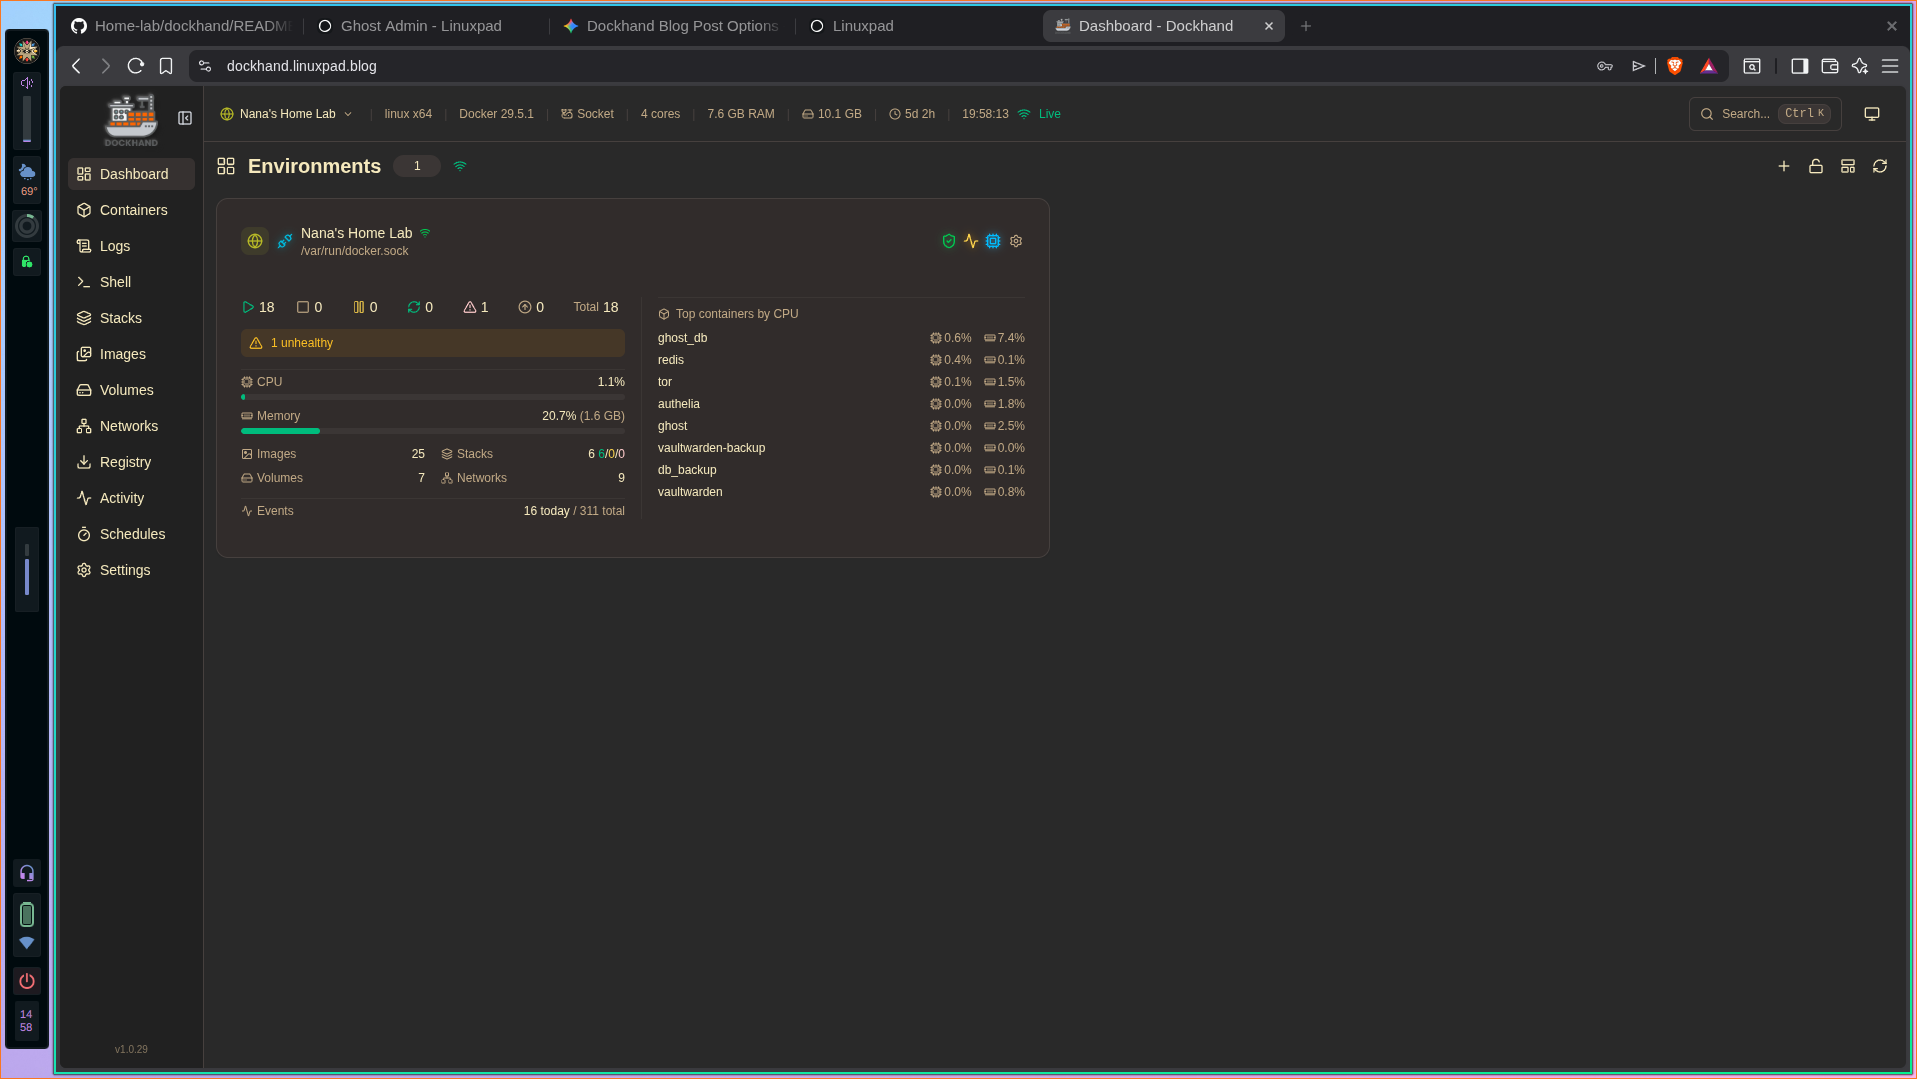
Dockhand is an intuitive tool built to give developers a cleaner, more efficient way to interact with their Docker environments. Think of it as your digital deckhand, handling the heavy lifting, monitoring, and organization of your containers so you can focus on writing code.
Whether you are tired of typing out long docker exec strings or just want a clearer bird's-eye view of your stacks, Dockhand bridges the gap between raw CLI power and ease of use.
Key Features That Solve Daily Developer Headaches
-
Effortless Container Observability: No more running docker logs --tail 50 -f [container_id] just to see why a service crashed. Dockhand centralizes your log streams, making debugging significantly faster.
-
One-Click Lifecycle Management: Start, stop, restart, or pause containers instantly without touching the keyboard.
-
Resource Monitoring at a Glance: Easily spot memory leaks or CPU spikes before they freeze your local machine. Dockhand provides clear visibility into how much juice your containers are pulling.
-
Simplified Environment Variables: Managing and inspecting environment configurations across multiple containers becomes a visual breeze rather than a game of docker inspect hide-and-seek.
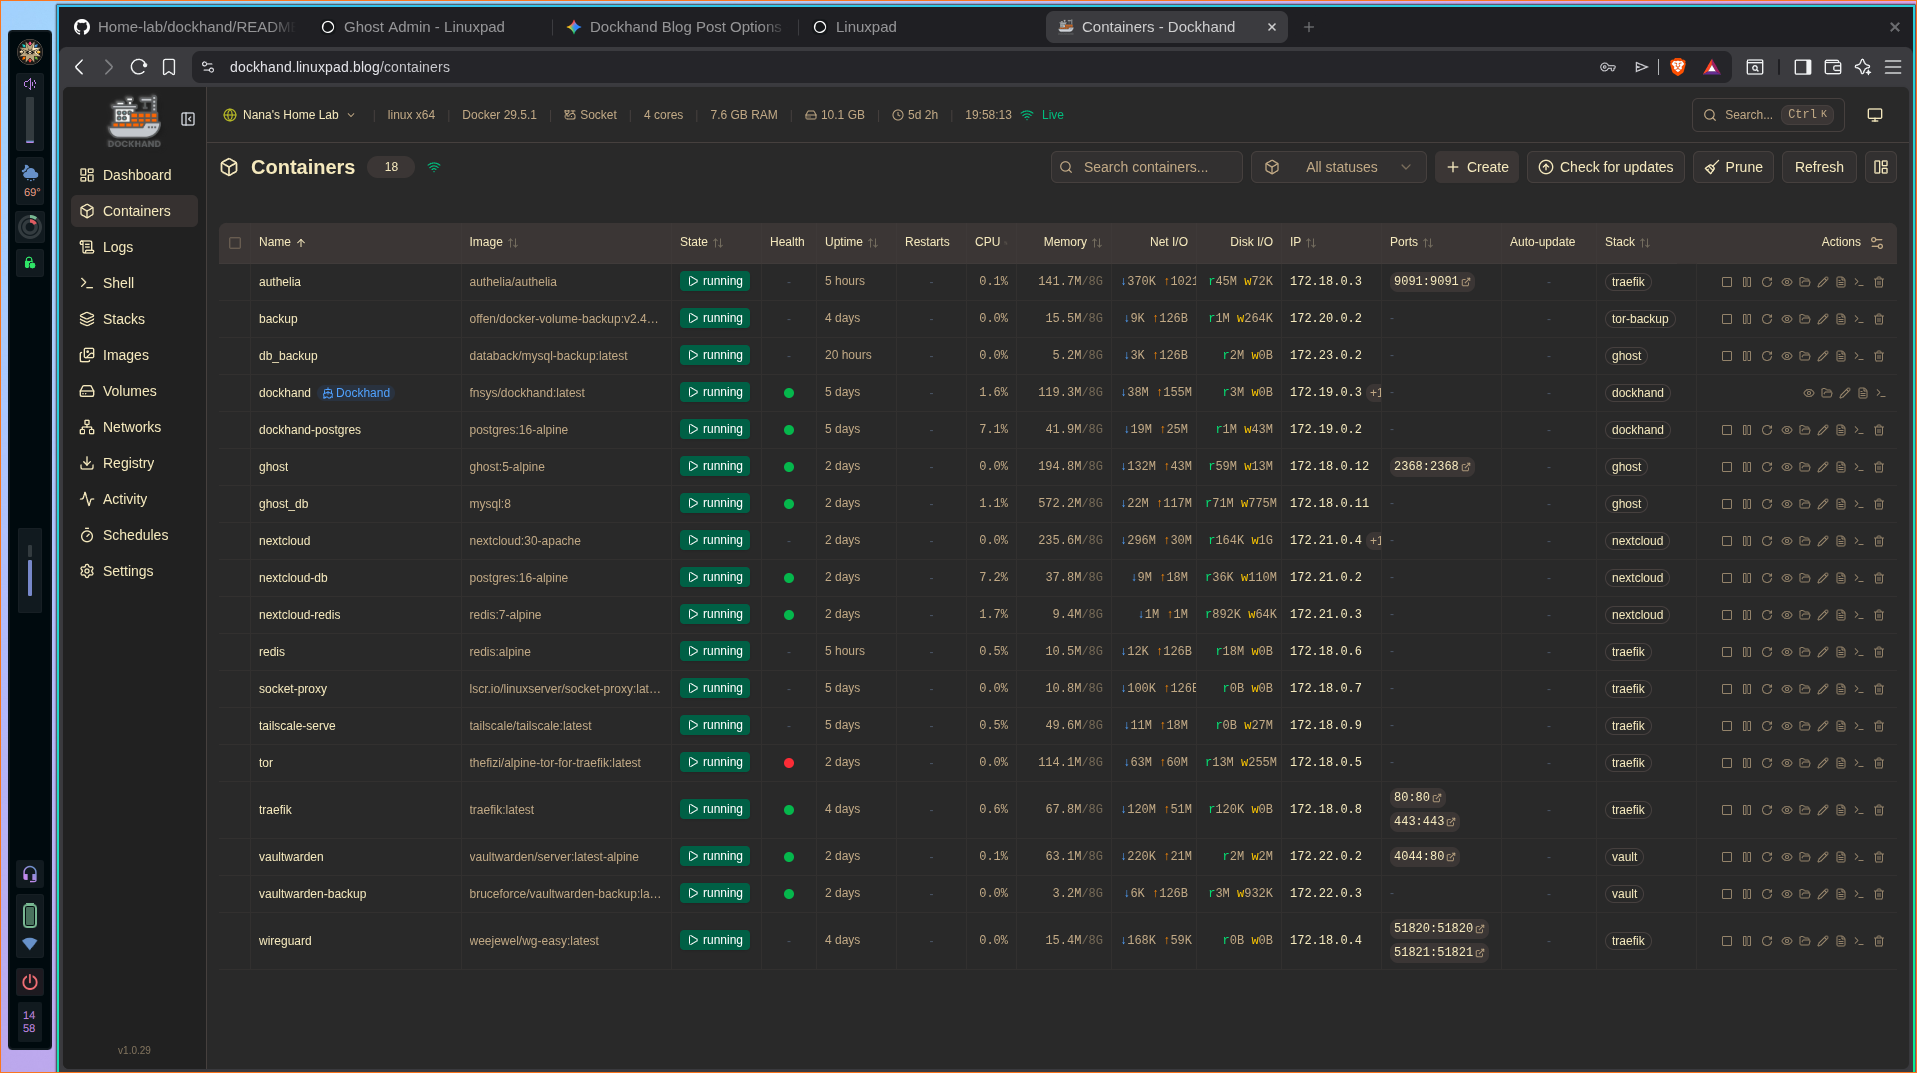
Now let's set dockhand up for our homelab. You will need a working docker and traefik environment for this to work. Check the links below to set them up if you missed the guide.
 Nana Oware
 Nana Oware
Create your .env file and paste this code snippet:
# Database
DB_USER=dockhand
DB_PASSWORD=YourStrong!Passw0rd
DB_NAME=dockhand

# Domain for Dockhand (change to your actual domain)
DOCKHAND_DOMAIN=dockhand.linuxpad.blog
Create the init.sql file and paste this code snippet:
-- Grant CREATE permission on the database to the user
-- This allows Drizzle to create its internal schema
GRANT CREATE ON DATABASE dockhand TO dockhand;
Finally, create the docker-compose.yaml file and paste this:
version: "3.9"

services:
  postgres:
    image: postgres:16-alpine
    container_name: dockhand-postgres
    restart: unless-stopped
    environment:
      POSTGRES_USER: ${DB_USER}
      POSTGRES_PASSWORD: ${DB_PASSWORD}
      POSTGRES_DB: ${DB_NAME}
    volumes:
      - postgres_data:/var/lib/postgresql/data
      - ./init.sql:/docker-entrypoint-initdb.d/init.sql:ro   # Grant CREATE permission
    networks:
      - internal
    healthcheck:
      test: ["CMD-SHELL", "pg_isready -U ${DB_USER} -d ${DB_NAME}"]
      interval: 10s
      timeout: 5s
      retries: 5
    logging:
      driver: "json-file"
      options:
        max-size: "1m"

  dockhand:
    image: fnsys/dockhand:latest
    container_name: dockhand
    restart: unless-stopped
    environment:
      # Database
      DATABASE_URL: postgres://${DB_USER}:${DB_PASSWORD}@postgres:5432/${DB_NAME}
      # Use socket-proxy instead of direct Docker socket (much safer)
      #DOCKER_HOST: tcp://socket-proxy:2375
    volumes:
      - dockhand_data:/app/data
      - /var/run/docker.sock:/var/run/docker.sock:ro ## REPLACE WITH SOCKET-PROXY for access and security

    networks:
      - internal
      - traefik
    depends_on:
      postgres:
        condition: service_healthy
    labels:
      - "traefik.enable=true"
      - "traefik.docker.network=traefik"

      # HTTP → HTTPS redirect (use @file)
      - "traefik.http.routers.dockhand-http.entrypoints=http"
      - "traefik.http.routers.dockhand-http.middlewares=redir-https@file"
      - "traefik.http.routers.dockhand-http.rule=Host(`${DOCKHAND_DOMAIN}`)"
      - "traefik.http.routers.dockhand-http.service=noop@internal"

      # HTTPS router with Authelia and GZIP (use @file for gzip)
      - "traefik.http.routers.dockhand-https.entrypoints=https"
      - "traefik.http.routers.dockhand-https.tls=true"
      - "traefik.http.routers.dockhand-https.tls.certresolver=le"
      - "traefik.http.routers.dockhand-https.rule=Host(`${DOCKHAND_DOMAIN}`)"
      - "traefik.http.routers.dockhand-https.middlewares=gzip@file,authelia@docker"
      - "traefik.http.routers.dockhand-https.service=dockhand-backend"

      # Service definition (port 3000 inside container)
      - "traefik.http.services.dockhand-backend.loadbalancer.server.scheme=http"
      - "traefik.http.services.dockhand-backend.loadbalancer.server.port=3000"

    logging:
      driver: "json-file"
      options:
        max-size: "1m"

volumes:
  postgres_data:
    name: dockhand_postgres_data
  dockhand_data:
    name: dockhand_app_data

networks:
  internal:
    driver: bridge
    name: dockhand_internal
  traefik:
    external: true
    name: traefik
Quick Fix: Grant Permission Manually
Run this command to grant the required permission directly on the existing database:
docker exec dockhand-postgres psql -U dockhand -d dockhand -c "GRANT CREATE ON DATABASE dockhand TO dockhand;"
docker compose up -d
Hawser:
🔒 Security Reminder
🌐 Access Dockhand
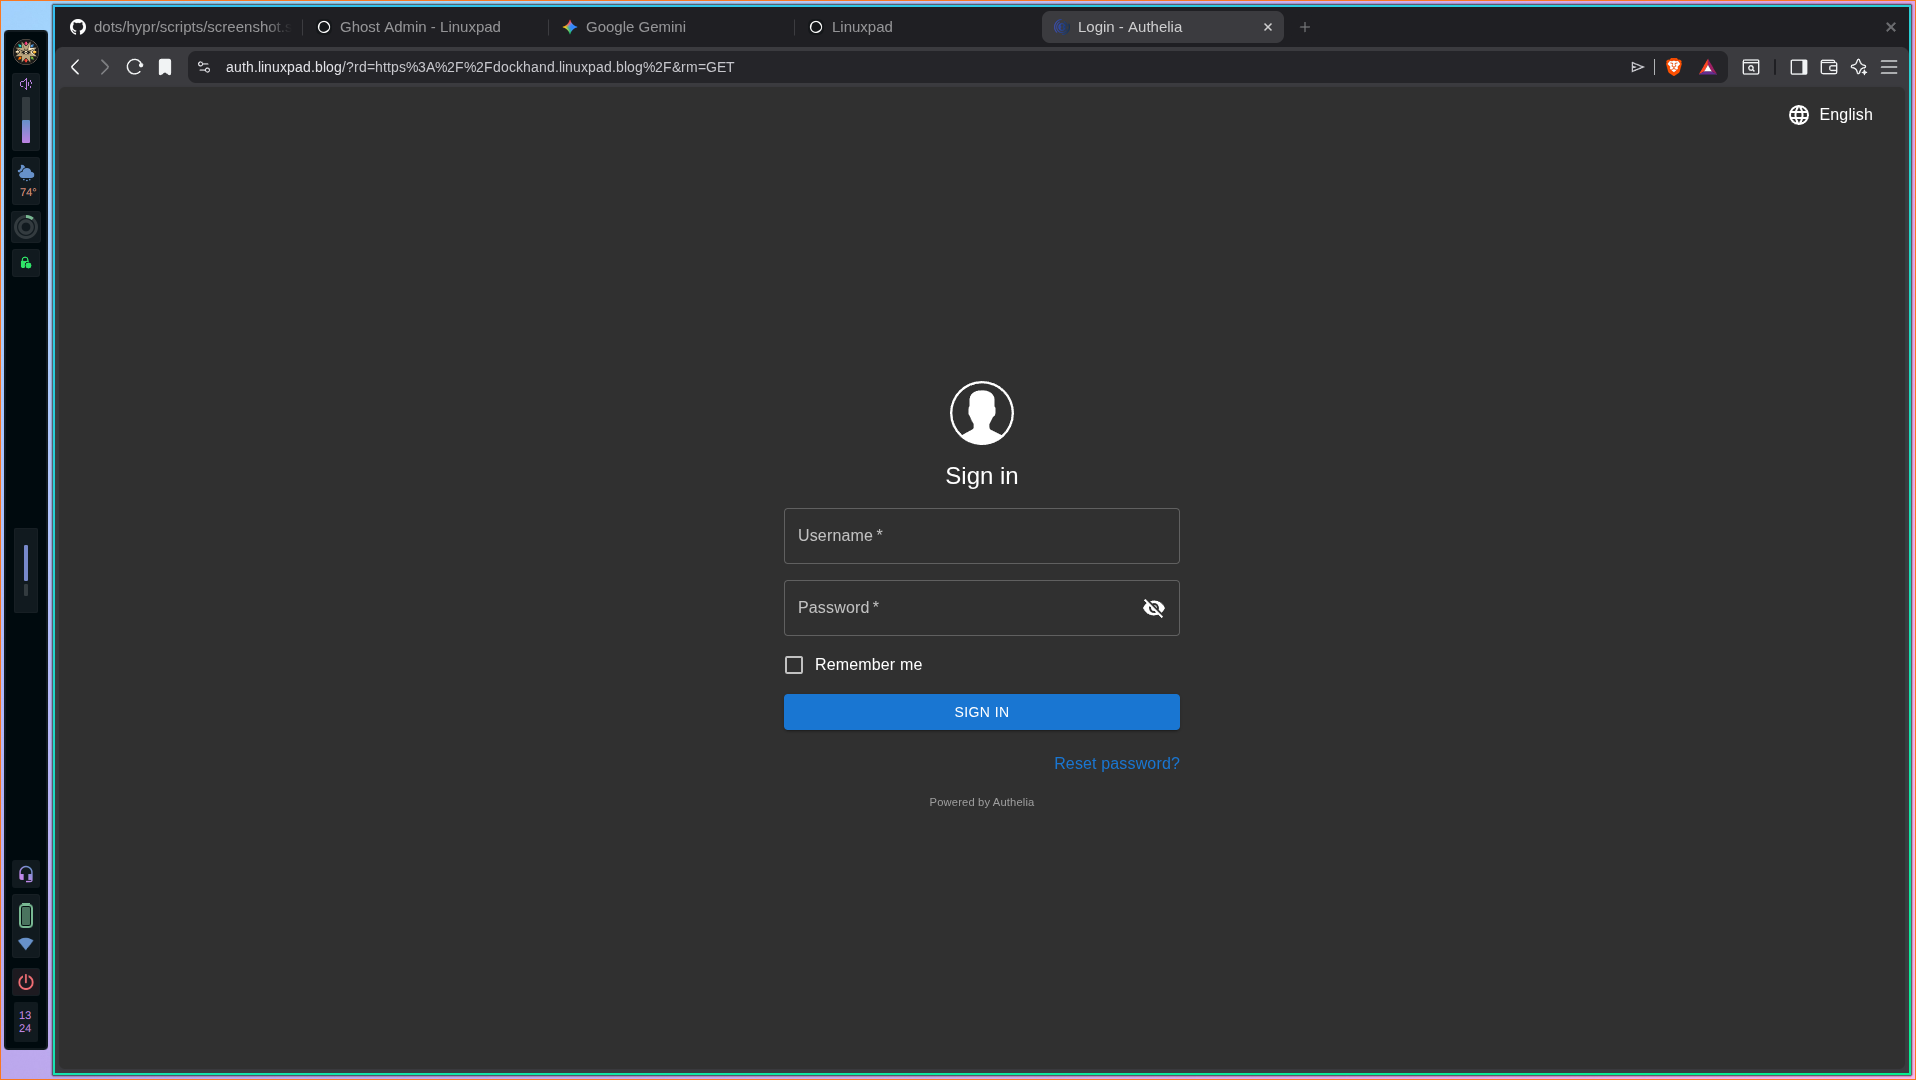
Visit https://dockhand.linuxpad.blog in your browser.
⚙️ How to Connect a Remote Host with Hawser (Edge Mode)
Since Edge mode is so useful for remote hosts without a public IP, here is the general workflow:
Obtain a Hawser Token: In your Dockhand UI, navigate to Environments > Add. Choose the "Hawser Agent" connection method. Dockhand will generate a unique, one-time token.
Install Hawser on the Remote Host: SSH into the Docker host you want to manage and run the official installation script:
curl -fsSL https://raw.githubusercontent.com/Finsys/hawser/main/scripts/install.sh | bash
Configure the Agent for Edge Mode: You need to edit the Hawser configuration file. Locate it at /etc/hawser/config. For Edge mode, you will:
Set the MODE="edge".
Set the DOCKHAND_SERVER_URL to the WebSocket address of your Dockhand instance, like wss://dockhand.linuxpad.blog/api/hawser/connect.
Set the TOKEN to the one you generated in Step 1.
Start the Hawser Service: Enable and start the agent so it runs in the background:
sudo systemctl enable hawser && sudo systemctl start hawser
Verify the Connection: Go back to your Dockhand UI. The remote host should now appear as an available environment, ready for you to manage its containers, images, and stacks directly from your central dashboard.